As with any manual focus operation, you will see a confirmation in the viewfinder when focus is achieved: the red focus point and the green focus hexagon at the bottom will light up. The main challenge is to actually set the focus distance. It is possible to use the distance scale engraved on many lenses. This will work best for longer depths of field, which will be more tolerant to small imprecisions. Methods to set the focus will vary depending on the application. *Note that manual focus lenses will only support use of the center AF point. We recommend using the center AF point regardless as it is more sensitive than the others on certain bodies, and it is easier to compose with due to the presence of markings in the center of the viewfinder. **It is possible and oftentimes necessary to use a wired remote with a lock function to effectively keep the shutter depressed without physically leaving a finger on the shutter button. Here is a short list presenting a few examples of potential uses for catch-in focus. In short, anything with predictable action can be photographed by using catch-in focus. Just remember that there are tolerances in the AF system, so we recommend using narrower apertures whenever possible to increase the depth of field.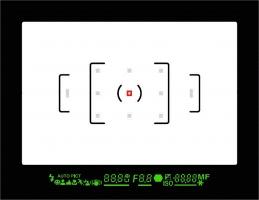
Examples of Useful Applications
Catch-in-Focus Tutorial